Google Kubernetes Engine Installation
Install the Analyzer on Google Kubernetes Engine
Pre-requisites
- Having a GCP account with permissions to create and administer Kubernetes Clusters.
- A GCP Project with Kubernetes API active.
- Having a machine with
kubectl,gcloudandhelminstalled.
Install the necessary tools
On the machine or VM you will use to administer the cluster:
- Install
kubectl, follow the official Kubernetes documentation. - Install
gcloud, follow the GCP documentation. - Install
helm, follow the official Helm documentation.
Download the Helm charts
You can download the helm charts with:
wget https://api.latence.ca/software/k8s-analyzer.zip
Create a cluster
- Once the Kubernetes API is activated and you have the necessary permissions to create and administer a Cluster, we will create one.
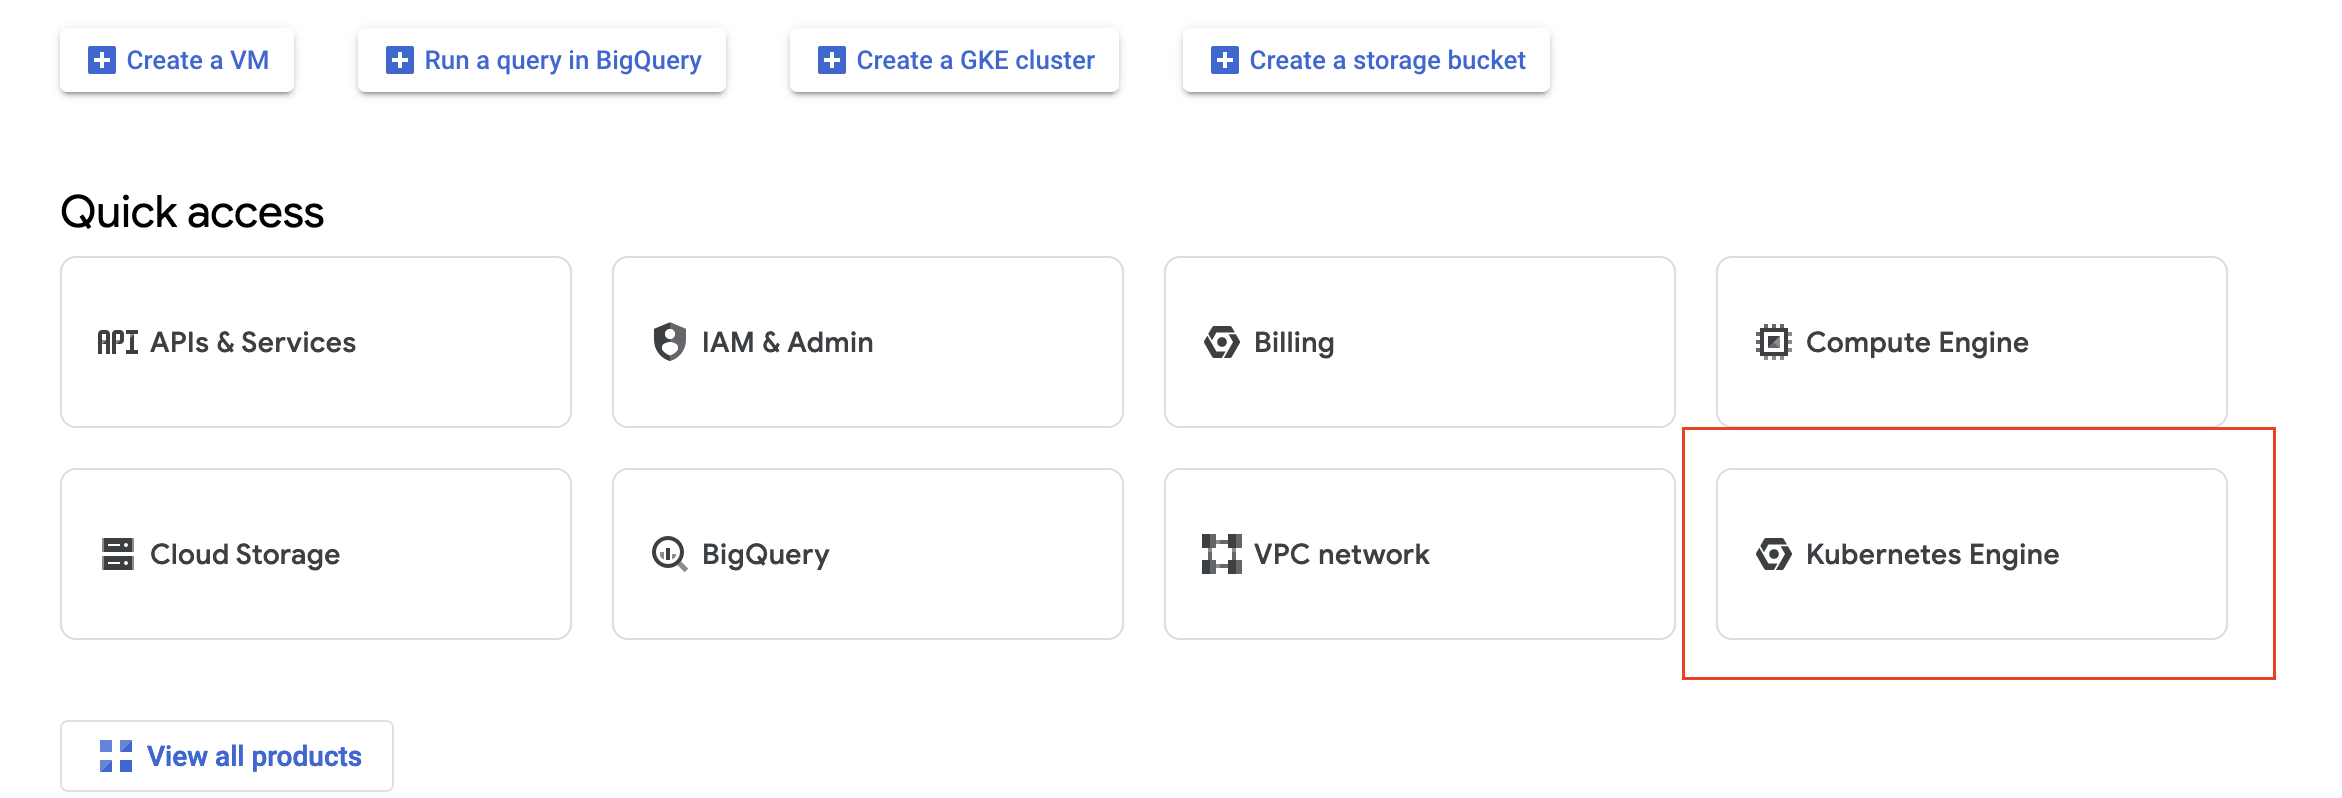
- On your Project page, click on Kubernetes Engine.
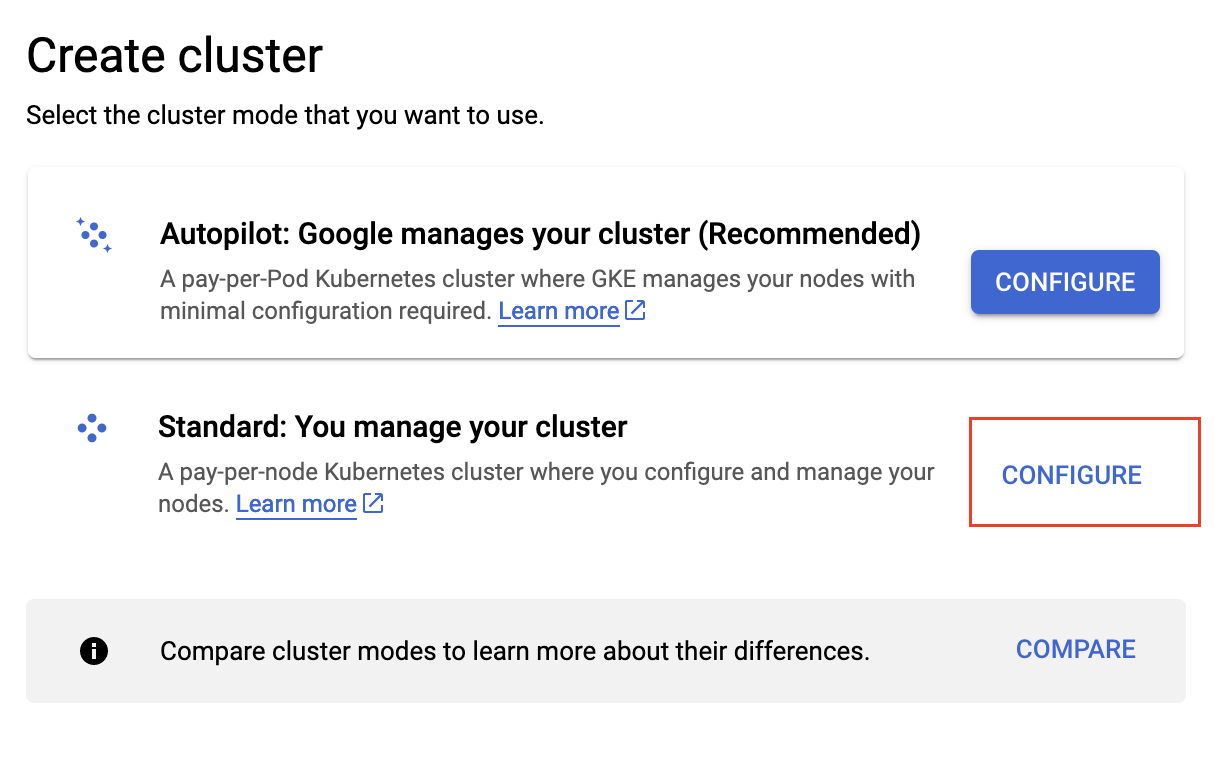
- Once in the Clusters tab, click on Create and select the Standard Cluster.
- In the Cluster basics section, name your analyzer.
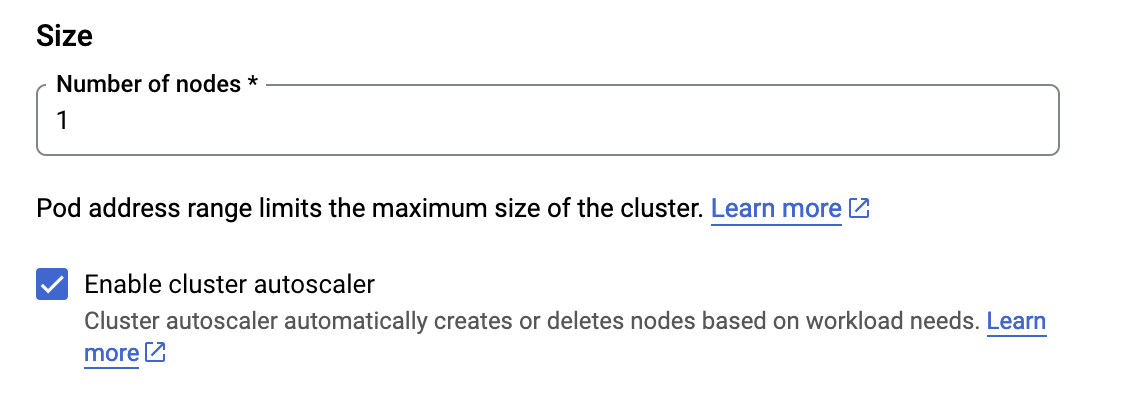
- Click on default pool and set the number of nodes to 1, check the Enable cluster autoscaler box.
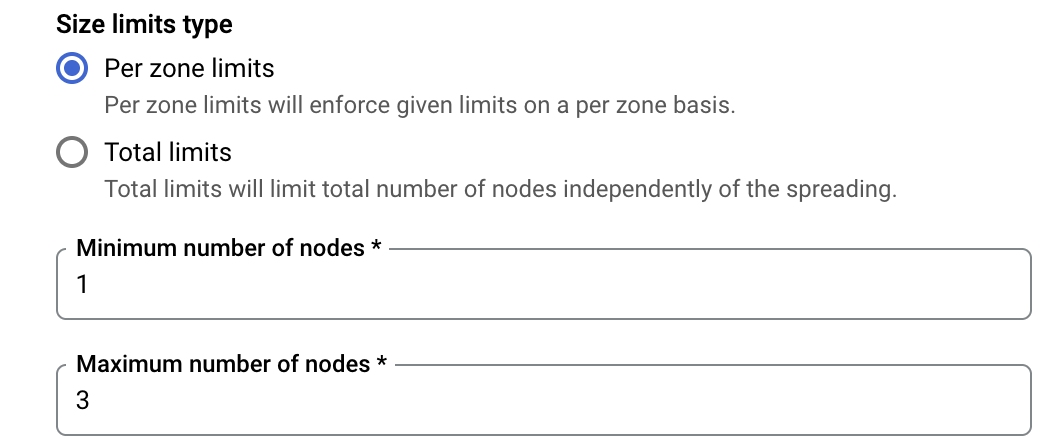
- Lower down the page, set the Minimum number of nodes at 1 and Maximum number of nodes at 2.
- Click on the Nodes tab on the left and change the image type from Container-Optimized OS with containerd to Ubuntu with containerd.
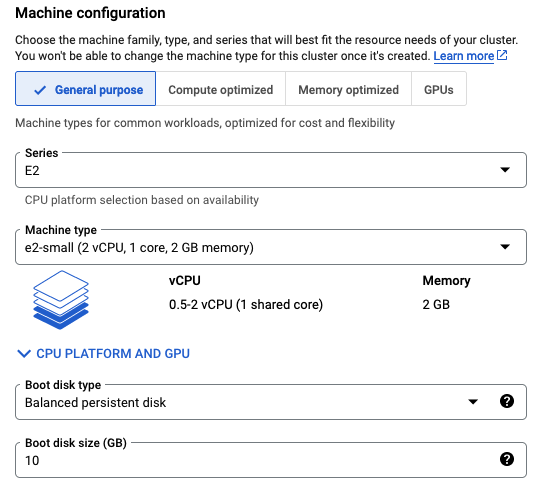
- In the Machine configuration section, set the machine type to fit the requirements to host the analyzer as described in docs.latence.ca.
- Set the boot disk size at 20GB as requested for the analyzer to run properly.

- If your application can handle a less stable environment, select Enable nodes on spot VMs, since this is a demo/test environment, we can check the box. This will also reduce the cost of the cluster.

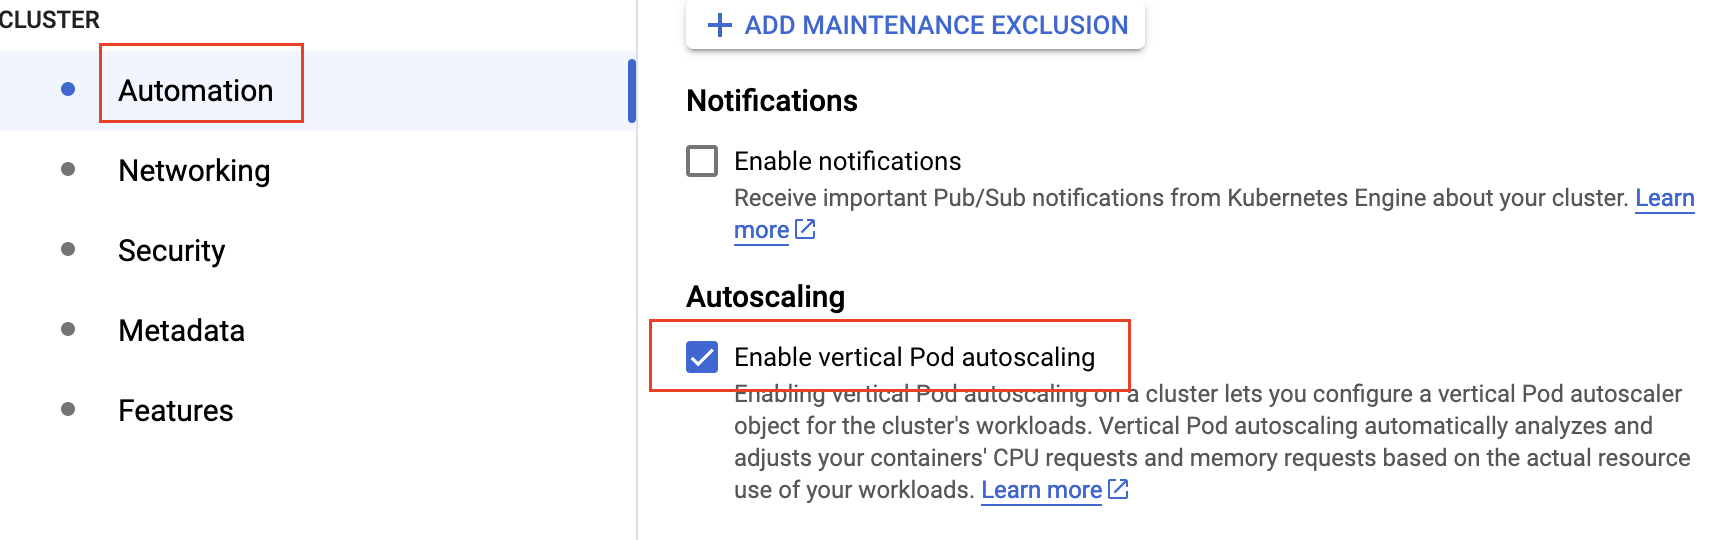
- In the Automation tab on the left, select Enable vertical Pod autoscaling.
- Finally you can hit Create, and wait for your cluster to be set up.
Install the Analyzer
You can remotely connect to your cluster using this command in your terminal:
gcloud container clusters get-credentials <cluster-name> --zone <cluster-zone> --project <project-name>
- You can see the running components of your cluster by entering:
kubectl get all
- We will need to modify one parameter in our
values.yamlfile:
1) The Latencetech License.
- Set your license.

- Once the License, we can install the analyzer running this command:
helm install analyzer k8s-analyzer/
- Wait 60 seconds for all the services and pods to be deployed.
- You can check the status of deployment by running:
kubectl get all
- Once done, you can get the External IP address your analyzer was deployed at running this command:
kubectl get svc
Should you have enabled the Load Balancer from the values.yaml, you will get 2 external addresses:
- one for Grafana and Influxdb
- one for Kafka and which will need to be used in the qos-agent configuration

API
If the API doesn't work, delete the configmap and re-launch
kubectl delete cm org-config
helm uninstall analyzer k8s-analyzer/
helm install analyzer k8s-analyzer/
In order to get your API key you can check the logs of the latencetech_api container with:
kubectl logs <pod ID>
Install the Agent on Google Kubernetes Engine
Pre-requisites
- Having a GCP account with permissions to create and administer Kubernetes Clusters.
- A GCP Project with Kubernetes API active.
- Having a machine with
kubectl,gcloudandhelminstalled.
Install the necessary tools
On the machine or VM you will use to administer the cluster:
- Install
kubectl, follow the official Kubernetes documentation. - Install
gcloud, follow the GCP documentation. - Install
helm, follow the official Helm documentation.
Download the Helm charts
You can download the helm charts with:
wget https://api.latence.ca/software/k8s-agent.zip
Create a cluster
- Once the Kubernetes API is activated and you have the necessary permissions to create and administer a Cluster, we will create one.
- On your Project page, click on Kubernetes Engine.
- Once in the Clusters tab, click on Create and select the Standard Cluster.
- In the Cluster basics section, name your analyzer.
- Click on default pool and set the number of nodes to 1, check the Enable cluster autoscaler box.
- Lower down the page, set the Minimum number of nodes at 1 and Maximum number of nodes at 3.
- Click on the Nodes tab on the left and change the image type from Container-Optimized OS with containerd to Ubuntu with containerd.
- In the Machine configuration section, set the machine type to fit the requirements to host the analyzer as described in docs.latence.ca.
- Set the boot disk size at 10GB as requested for the analyzer to run properly.
- If your application can handle a less stable environment, select Enable nodes on spot VMs, since this is a demo/test environment, we can check the box. This will also reduce the cost of the cluster.
- In the Automation tab on the left, select Enable vertical Pod autoscaling.
- Finally you can hit Create, and wait for your cluster to be set up.
Install the Agent
You can remotely connect to your cluster using this command in your terminal:
gcloud container clusters get-credentials <cluster-name> --zone <cluster-zone> --project <project-name>
- You can see the running components of your cluster by entering:
kubectl get all
We will need to modify four parameters in our values.yaml file:
1) The Latencetech License.
2) The Reflector IP.
3) The Analyzer IP.
4) The Agent ID.
5) the Customer ID (an Integer).
- Set your license.
- Set the following parameters.
# Agent Environment Variables
agent:
    LTI_agent_id: "TO-BE-SET"
    LTI_customer_id: "TO-BE-SET"
    LTI_reflector: "TO-BE-SET"
    ANALYZER_IP: "TO-BE-SET"
- You can modify the other parameters belonging to the qos-agent in the section that follows.
- Once all the parameters are set, we can install the agent running this command:
helm install agent k8s-agent/
- You can check the status of deployment by running:
kubectl get all
Install a Reflector on Google Kubernetes Engine
Pre-requisites
- Having a GCP account with permissions to create and administer Kubernetes Clusters.
- A GCP Project with Kubernetes API active.
- Having a machine with
kubectl,gcloudandhelminstalled.
Install the necessary tools
On the machine or VM you will use to administer the cluster:
- Install
kubectl, follow the official Kubernetes documentation. - Install
gcloud, follow the GCP documentation. - Install
helm, follow the official Helm documentation.
Download the Helm charts
You can download the helm charts with:
wget https://api.latence.ca/software/k8s-reflector.zip
Create a cluster
- Once the Kubernetes API is activated and you have the necessary permissions to create and administer a Cluster, we will create one.
- On your Project page, click on Kubernetes Engine.
- Once in the Clusters tab, click on Create and select the Standard Cluster.
- In the Cluster basics section, name your analyzer.
- Click on default pool and set the number of nodes to 1, check the Enable cluster autoscaler box.
- Lower down the page, set the Minimum number of nodes at 1 and Maximum number of nodes at 3.
- Click on the Nodes tab on the left and change the image type from Container-Optimized OS with containerd to Ubuntu with containerd.
- In the Machine configuration section, set the machine type to fit the requirements to host the analyzer as described in docs.latence.ca.
- Set the boot disk size at 10GB as requested for the analyzer to run properly.
- If your application can handle a less stable environment, select Enable nodes on spot VMs, since this is a demo/test environment, we can check the box. This will also reduce the cost of the cluster.
- In the Automation tab on the left, select Enable vertical Pod autoscaling.
- Finally you can hit Create, and wait for your cluster to be set up.
Configure the Cluster
You can remotely connect to your cluster using this command in your terminal:
gcloud container clusters get-credentials <cluster-name> --zone <cluster-zone> --project <project-name>
- You can see the running components of your cluster by entering:
kubectl get all
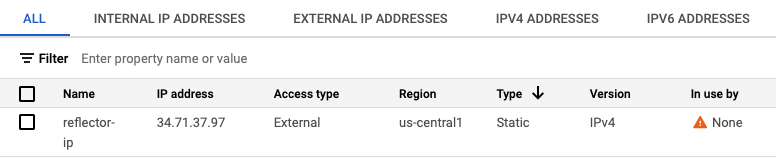
We will now need to create a Static IP for our reflector for our agents to be able to communicate with it. We have 2 Load Balancers running and we will need them to have the same external IP.
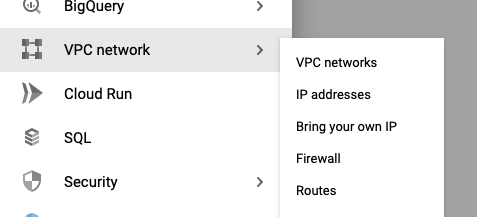
- In the settings of our GCP account, go to the VPC network > IP addresses section.
- Click on Reserve an external IP address.

- Choose a name, set a description and DO NOT attach it to any instances. Click Reserve.
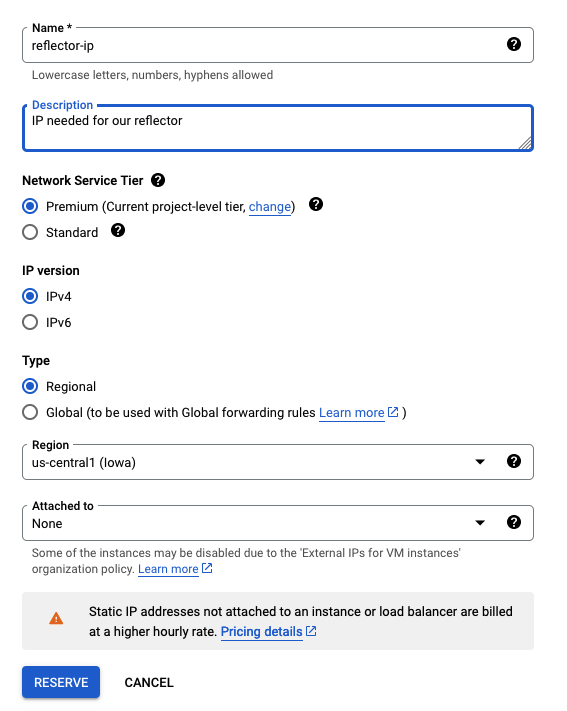
- This will then give us an IP address that we will be able to set in the
values.yamlfile as Static IP.
Install the Reflector
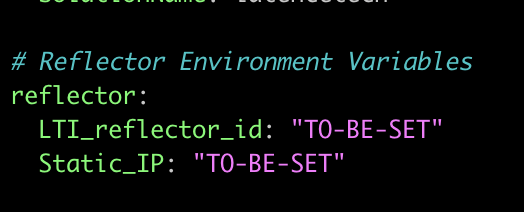
We will need to modify three parameters in our values.yaml file:
1) The Latencetech License.
2) The Reflector ID.
3) The Static IP of our reflector
- Set your license.
- Set the following parameters, the common ID is 1 and use the reserved IP address from above as Static IP.
- Once all the parameters are set, we can install the reflector running this command:
helm install reflector k8s-reflector/
- You can check the status of deployment by running:
kubectl get all